Samosa recipe | How to make samosa
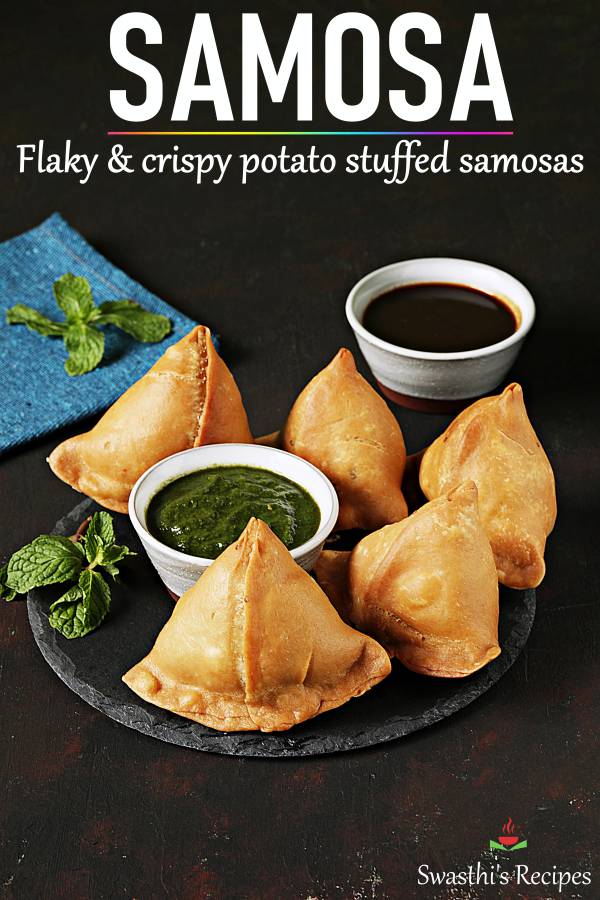
Samosa recipe – Learn to make perfect crispy, flaky & delicious samosas at home with this easy video & step by step recipe post. Samosa is a potato stuffed deep fried SNACK very popular in India, Middle East & Asian countries. They originated from the middle east and was brought to India by the Merchants.
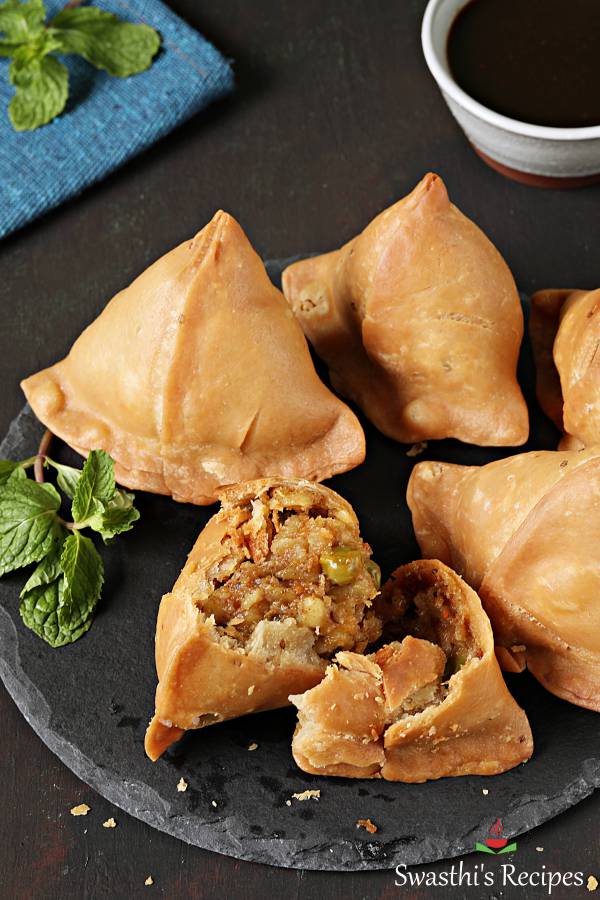
What is samosa? Samosa is a deep fried pastry with a spiced filling usually made with potatoes, spices and herbs. Sometimes these are also made with minced meat (keema).
Samosa is one of the most commonly eaten snack across India. They are hugely popular and are loved by everyone. Samosas make their appearance everywhere as a street food, party snack, restaurants and even in cafes. They are very special during the month of ramadan and are eaten as a IFTAR SNACK.
We usually avoid eating fried snacks in cafes and restaurants for health reasons. Years ago I learnt making samosas as my kids keep asking for them. Making them at home is super easy if you learn the steps correctly especially making the crust.
In this post I am sharing the samosa recipe with potato stuffing, you can also make keema samosa using this KEEMA RECIPE for the stuffing. This Punjabi samosa recipe is roughly adapted from Chef Harpal singh.
Preparation to make samosa
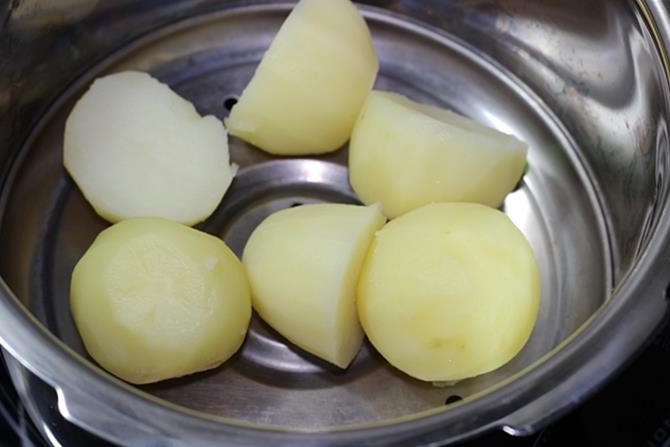
1. Wash and boil 500 grams of potatoes (3 to 4) until just done. I washed peeled, halved and pressure cooked them for 1 whistle on a medium flame. The potatoes should not turn mushy but must be fully cooked.
To boil them in instant pot, you can also pressure cook them following these timings – small potatoes – 5 mins, medium size – 7 mins and large – 10 mins. This time when I made for the video I pressure cooked them for 8 mins.
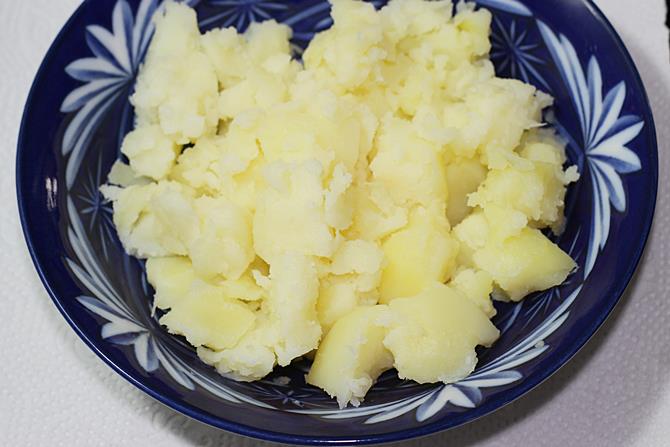
2. Cool the potatoes and crumble them. Set aside.
Make samosa dough
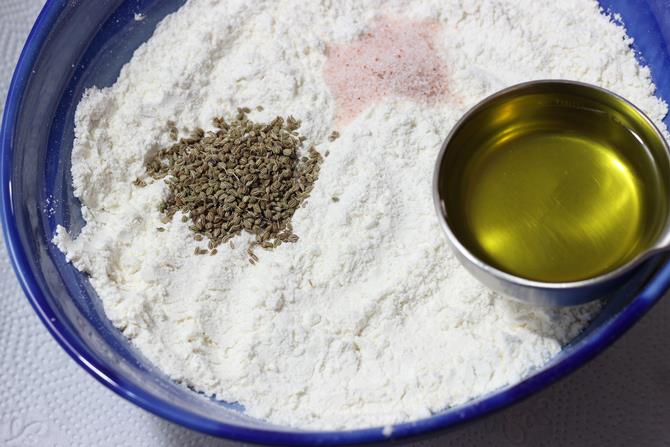
3. To a mixing bowl add
2 cups all-purpose flour (organic maida)
¾ teaspoon ajwain (carom seeds)
¾ teaspoon salt
¼ cup oil or ghee (4 tablespoons)
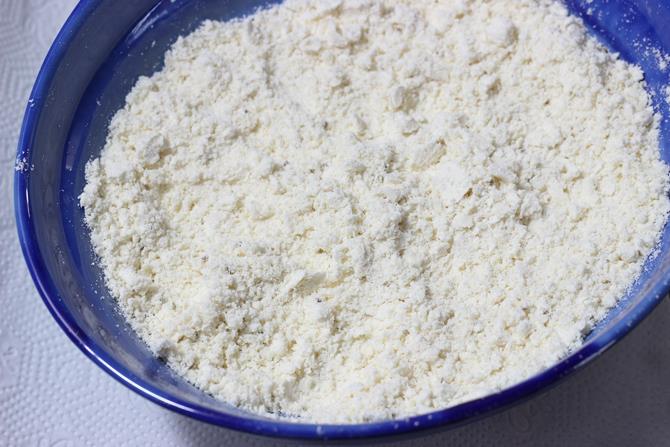
4. Mix everything very well. Rub the flour in between your palms to incorporate the oil well for 2 to 3 minutes. After this step the flour should resemble breadcrumbs. Press down a handful of this flour in your palm, it should form or hold the shape. It should not crumble meaning oil is well incorporated. Check video.
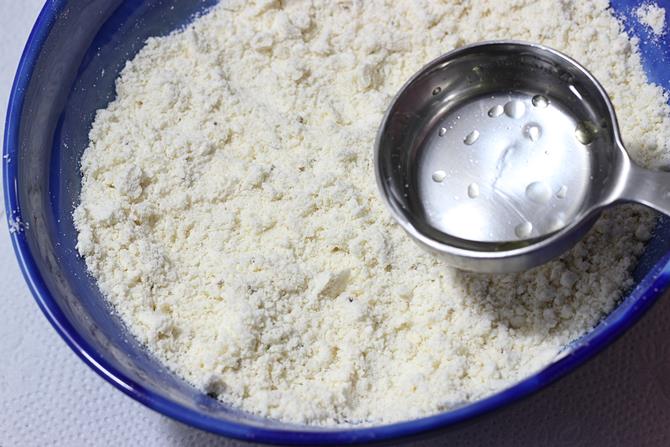
5. Add 4 tablespoons water and begin to form a dough ball adding more water as needed. I added about 4+ 2 tablespoons water in total.
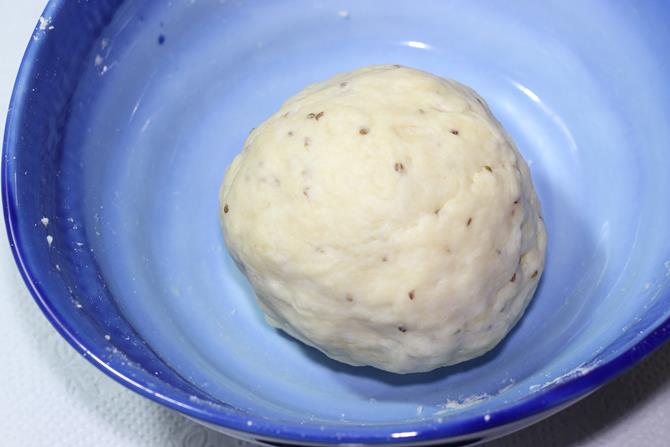
6. Dough has to be firm, stiff and not sticky. Cover and rest for 25 to 30 mins.
Making potato stuffing
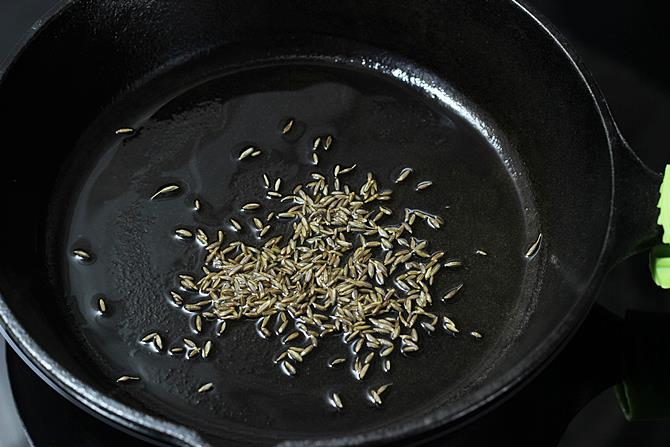
7. Heat 1 tablespoon oil or ghee in a pan. Next add ¾ teaspoon cumin seeds.
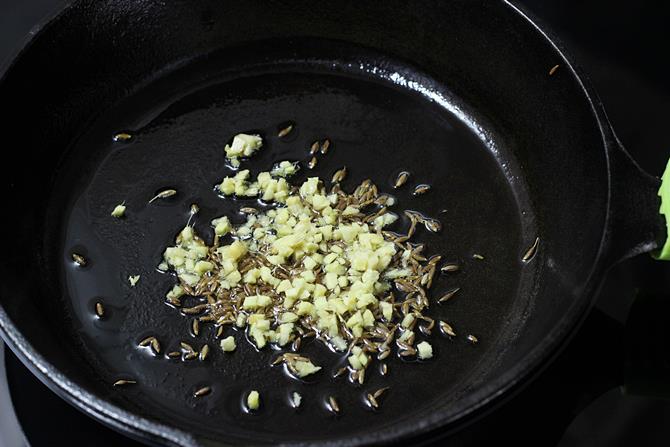
8. When the seeds begin to splutter, add 1 tablespoon minced ginger and 1 to 2 chopped green chilies. Saute for 30 to 60 seconds. Then add a pinch of hing. Optional – You can also add some chopped cashews and roast until golden.
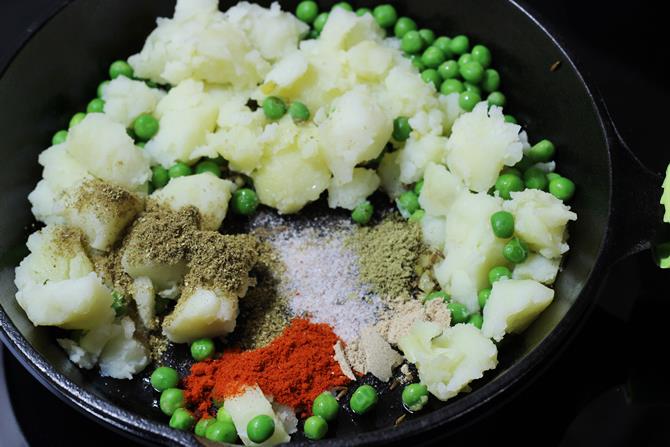
9. Add the spice powders –
¾ teaspoon red chili powder
¾ to 1 teaspoon garam masala
½ teaspoon cumin powder
½ teaspoon salt
½ teaspoon amchur powder (dried mango powder) or chaat masala.
½ teaspoon fennel powder (optional, saunf powder)
Saute for 30 seconds and then add green peas. Saute for 1 to 2 mins. Then add potatoes.
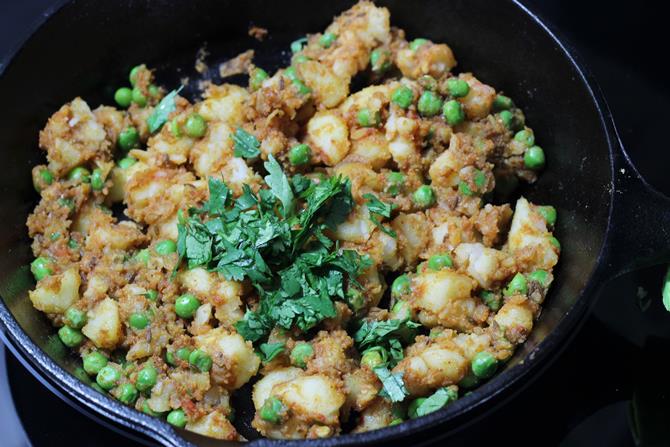
10. Saute the entire potato masala for 2 to 3 mins until potatoes blend well with spice powders. Add ¼ cup chopped coriander leaves. Taste test this and adjust salt if needed.
Set aside to cool. If you have not used amchur or chaat masala, then add lemon juice at this stage.
How to make samosa
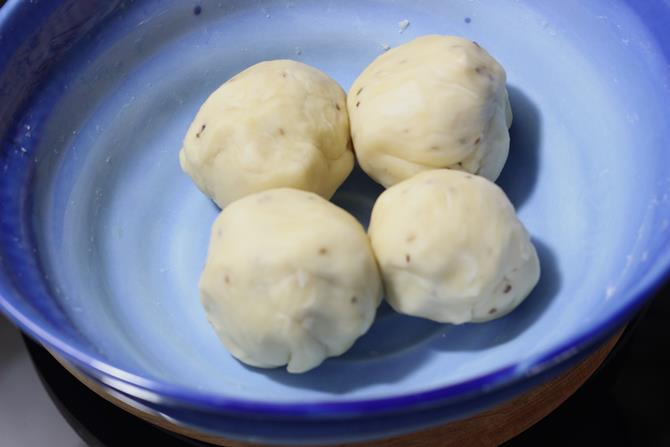
11. After 25 to 30 mins, knead the dough for another 3 to 4 mins. The dough has to be stiff yet and not soft. Divide the dough to 5 equal parts.
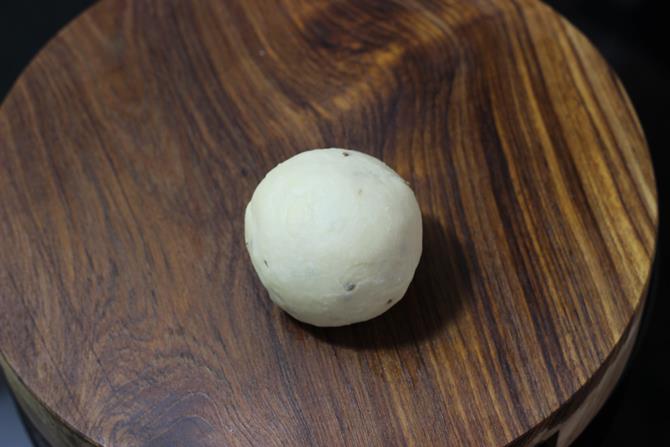
12. Oil the counter or the rolling board. Place the ball.
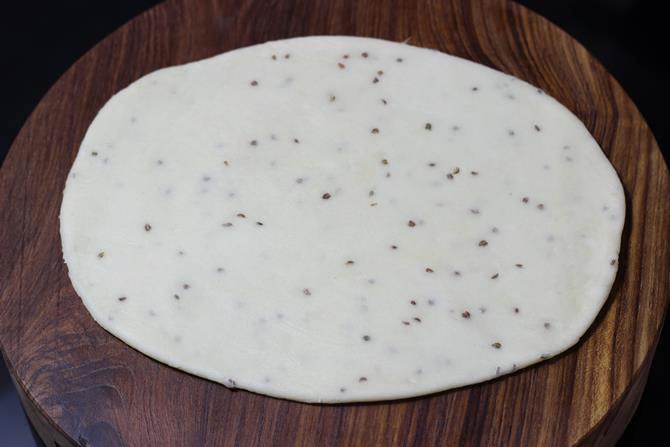
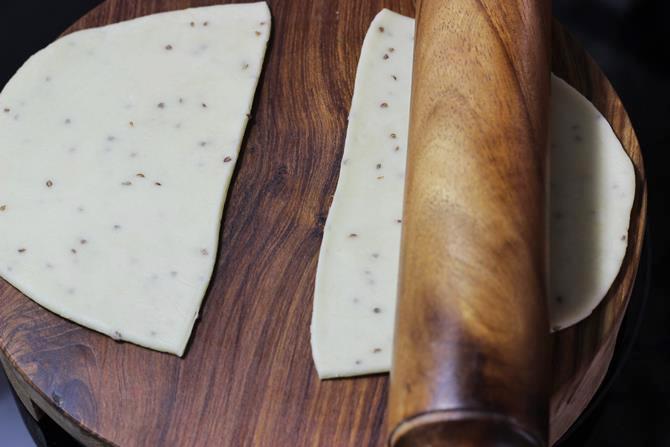
13. Roll it to a oval shaped even layer. Mine was 8.5 inches long and 6.5 inches wide. It has to be slightly thick and not too thin.
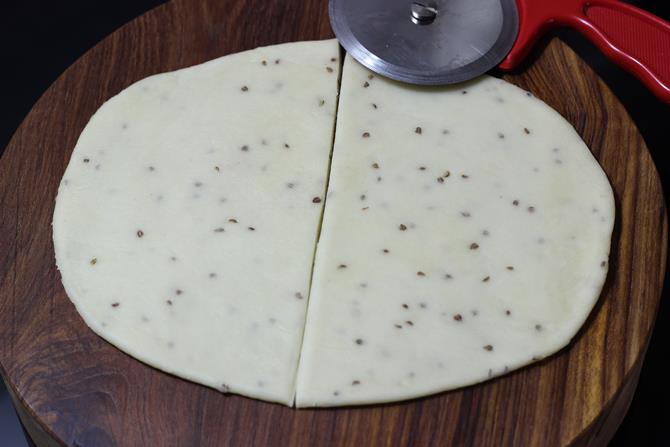
14. Cut it in the center to make 2 parts.
15. The roti shrinks back little due to the nature of all-purpose flour so I prefer to roll it gently again. If you feel the edges are too thick then roll a bit.
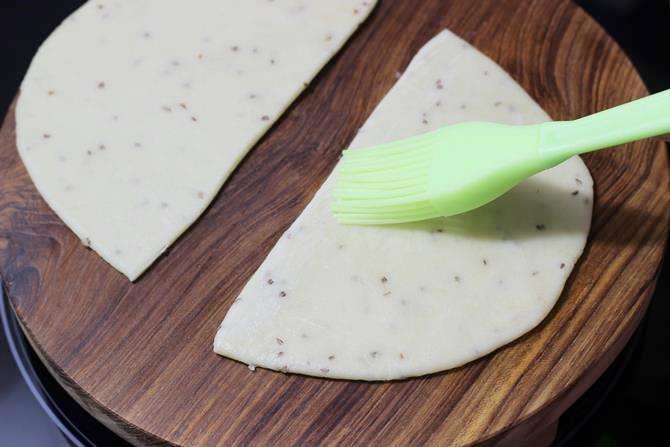
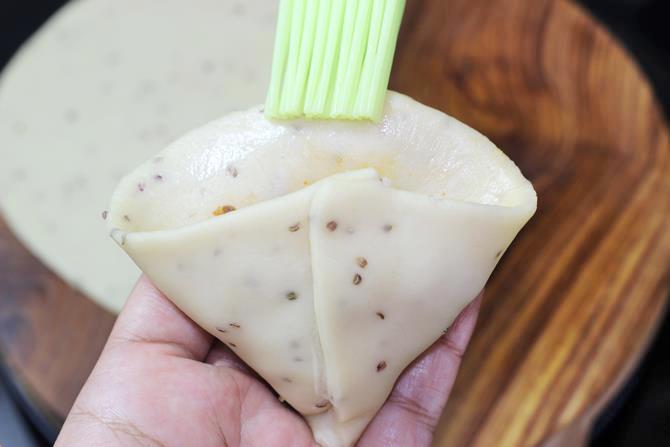
16. Apply water with your finger over the straight edge.
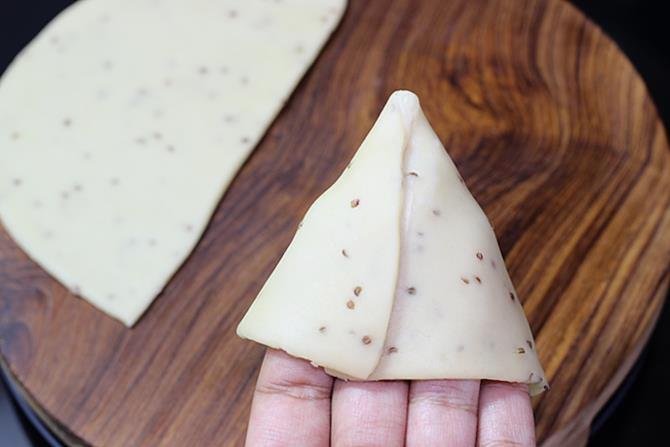
17. Join the edges to make a cone shape like you see in the picture. Stick the edges well. Stick the edge from inside the cone as well to secure. Check video.
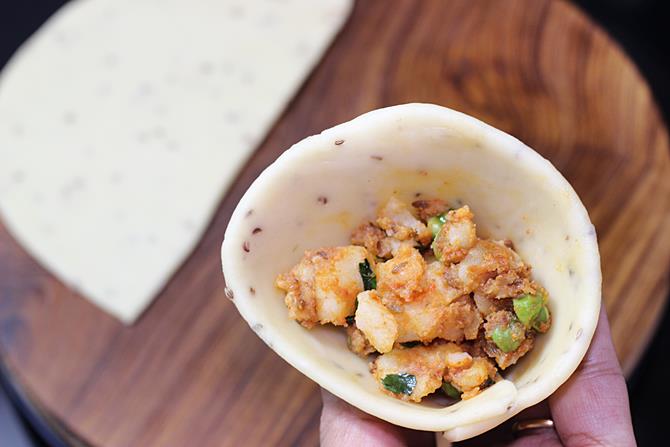
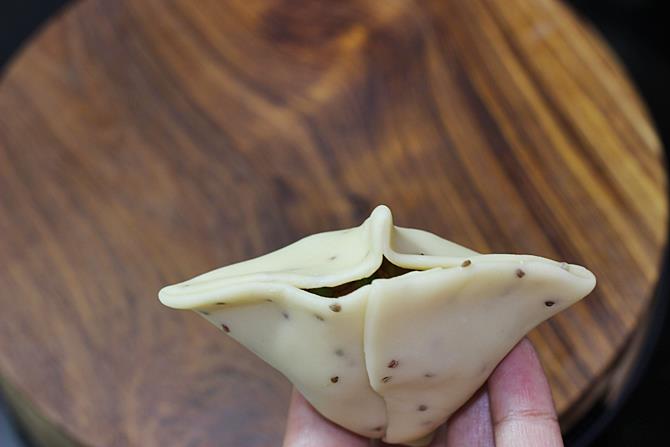
18. Fill the cone with potato masala. Press down a bit with a tiny spoon.
19. Apply water on the edge.
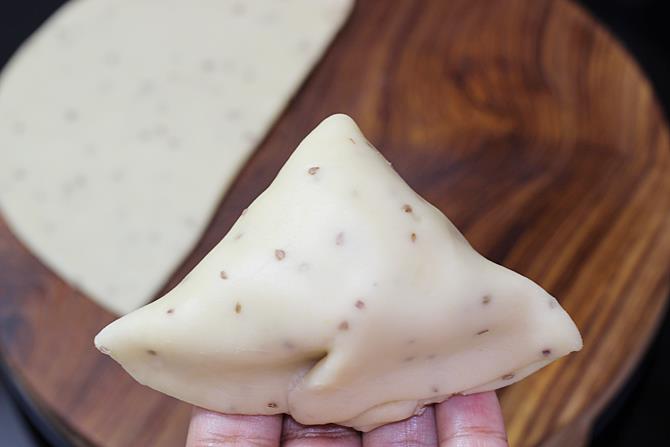
20. Stick the edges to seal well. On one of the sides, make a pleat as shown in the image. I have shown an alternate but similar method in the video do take a look at it.
21. Bring the pleat to a side and stick it up. Make sure your samosa is sealed well. Pinch and Press down on the edges very well to seal them.
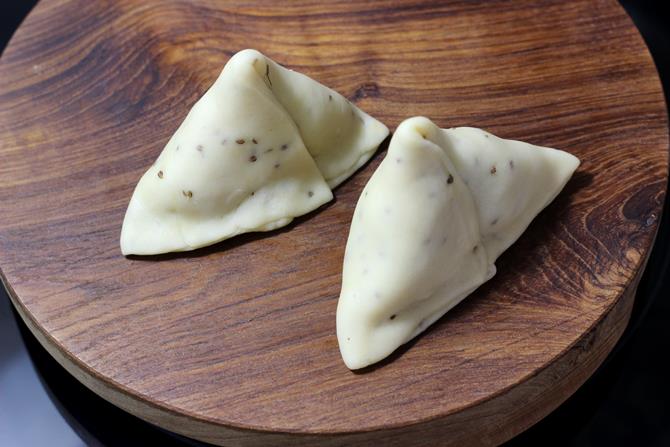
22. This will give you a perfectly standing samosa. Finish making all your samosas. If you prefer to bake them, preheat the oven to 360 F or 180 C for 20 mins. Brush oil generously and bake them for 30 to 40 minutes, flipping them after 15 minutes.
Just make 5 to 6 samosas first and then fry them. Make the rest of the samosas while you fry the first batch. This way the samosas will not dry up.
Frying samosa
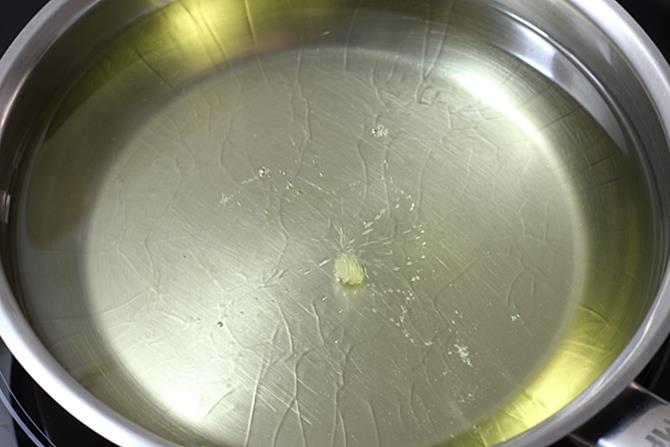
23. Heat a pan with oil for deep frying. The oil should not be very hot or smoky hot. It must be medium hot. When it is just getting hot, add a small portion of dough in the oil.
It has to rise slowly & the oil must not be bubbling or sizzling a lot. You should see only tiny bubbles. This is the right temperature. (The dough should not come up immediately and turn golden.)
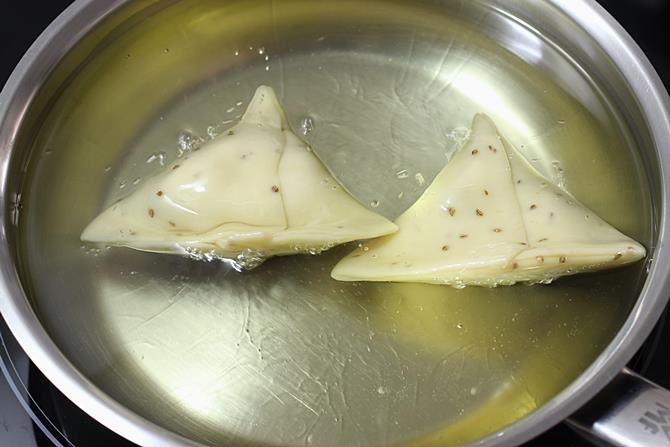
24. Gently slide the samosas one by one slowly. After you add them to the hot oil, you must see very tiny bubbles rising slowly. You should not be hearing any sizzling noise as it happens with the regular deep fried snacks.
Add as many as you can. I usually fry 5 at one time. Do not disturb them for few minutes. Later when they come up, keep stirring occasionally and fry them evenly until golden.
Half way through, the crust begins to firm up, then increase the heat to medium.
25. Don’t rush. They will take a lot of time to fry golden. Be patient and fry until golden & crisp. (check video). When the samosas turn golden, remove them to a colander or kitchen tissue. For the next batch, reduce the heat completely to bring down the temperature and add them.
Serve samosa with MINT CHUTNEY, SWEET TAMARIND CHUTNEY or tomato sauce.
Tips for crispy & flaky samosa
A perfect samosa should be crispy & flaky with almost no bubbles or blisters on them.
Fats (Oil or ghee) – The amount of oil added to the flour is very important to make flaky and crispy samosas. Too little oil will make the samosa crust hard. Do not reduce the amount of oil mentioned in the recipe.
Crumb oil & flour – The process of rubbing the oil into the flour is the key step to make a flaky crust. Rub the oil & flour together very well until the mixture looks like breadcrumbs.
Texture of dough – Samosa dough has to be stiff & not soft like roti dough. Use water only as needed. Too much moisture in the dough will make lots of tiny air pockets in the crust and will prevent the samosas from turning crispy.
Resting & kneading dough – The dough does not require kneading when it is made. But it needs resting. After the resting, it has to be kneaded well for 3 to 4 mins. It should not turn smooth but has to be tight and stiff. So do not overknead it.
Rolling the dough – It has to be rolled to neither too thick nor too thin. Check the video for the thickness. Thin layers will break the samosas while frying. Too thick will not cook the samosas
Frying – Samosa has to be fried in moderately hot oil on a low flame. It should not be cooked in very hot oil or on high heat. Otherwise the samosas won’t cook and turn crispy. The oil should not sizzle or bubble up immediately when a piece of dough is dropped to the oil. You should see very tiny bubbles after 30 to 40 seconds. This is the right temperature.
Tips for perfect samosa dough crust
This is useful in case you like to double or triple the recipe.
1. For every one kg of flour, you can use up to 200 grams of fat (oil or ghee). Anything more than this may break the crust. Using too little fats in the dough may lead to hard crust.
Faqs
- Why did my samosas turn hard? – Not adding enough oil to the flour will make a hard crust.
- Why did they turn oily? – Adding more water than needed while making the dough will make soft dough resulting in oily crust.
- Can I use spring roll sheets for the crust? – Yes you can use spring roll sheets or puff pastry sheets to make the samosa.
- Why does the crust have too many blisters and bubbles ? – Frying them in very hot oil or too much moisture in the dough can make plenty of bubbles or blisters on the crust.
Can I bake these samosas?
Yes they can be baked. But fried samosas taste the best. I have tried baking these after brushing them generously with oil at 170 to 180 C in a preheated oven for 35 to 40 mins. The results were fine but not as good as the fried ones.
If you are keen to bake them then use ready store bought frozen puff pastry sheets. Roll each sheet to a square. Cut each sheet to 4 to 5 roundels with the help of a round cutter. Then cut each one to half. Then use them as mentioned in the recipe below.
Can I use whole wheat flour / atta?
Yes you can. But for best results I would suggest all-purpose flour. Samosas made with wheat flour have a nutty aroma and are dense.
Wheat flour or all-purpose flour? Which is better for samosa? I have tried with wheat flour too but the results were not great. If you are into healthy eating and have completely stopped eating all-purpose flour, then you can make with wheat flour.
You can also use half wheat flour and half all-purpose flour but all wheat flour does yield hard not very good samosa. I used organic all-purpose flour here. For health reasons prefer organic flour or at least unbromated flour.


